Photographing artworks is one of the most significant parts of the “artistic” profession. When it comes to presenting your work, for all those who think they are not very skilled at it, let me reassure you right away, it is not difficult, it can be learned easily, and it is very interesting as well!
We artists spend a lot of time at the table/easel, working on our skills, trying to progress, and create better works. We finally painted the perfect painting, the hours are spent, the days, the energy, the creativity, the back pain (I sound like a grandma, but yes). Painting is finished, it’s time for photography. I would say the most important part, why? Quality and interesting photos bring a lot of positive results. It can attract a new audience, customers, lead followers to interact. Photography, after painting, is the second most important skill we need to possess, add creativity and imagination, and the fun begins.
We want to present our work in the best possible light, but when we need to pick up a phone/camera we sometimes feel lost because we don’t have enough experience at the beginning, so we don’t know where to start, what to do and how. I would say that it is not enough to take any photo, but the presentation is very important, it has to be meaningful. We communicate through photos, we share positive feelings through photos, emotion, and message.
Sometimes we photograph our artwork and send them in digital format for exhibitions, fairs, competitions, and post them on social media. Our photo is what leaves an impression on our work, and it also represents us as an artist and what we do the best.
On social media, sometimes we come across artists who have beautiful artworks but are not very skilled in presenting their work. Bad angles, colors, blurry photos, painted in artificial light in the house at night. I feel sorry when I see that because they have invested a lot of time in painting, and they only need a little effort to present it on social media.
When I photograph my works, I prefer to do it in an organized way and without haste.
A professionally photographed image can bring us significant results, new customers, new companions, winning a competition, more comments about our artwork. The purpose of this blog post is to teach how you can take photos of your work at home, with a phone / DSL camera and present them the best you can in the online world.
I would divide the photography process into two categories:
- Technical part (camera/phone control and settings)
- Aesthetic part (composition)
I’ve put together a couple of steps to help you take your #photographygame to the next level, and achieve the results you want. Believe me, a professional photo, in addition to marketing strategy, can bring a lot. Always keep in mind that us humans are visual beings.
1. The height of the camera and the image must be the same
We usually have the opportunity to see pictures on the wall, leaning on an object or in a lying position on a surface. In any of these three positions, the camera must be at the same height as our artwork, that the camera and the center of the artwork are facing each other. In this way, we will be able to take a photo from a great perspective, and all details will be in the center and in the focus of the observer’s eye.
2. Timer and tripod are your best friends
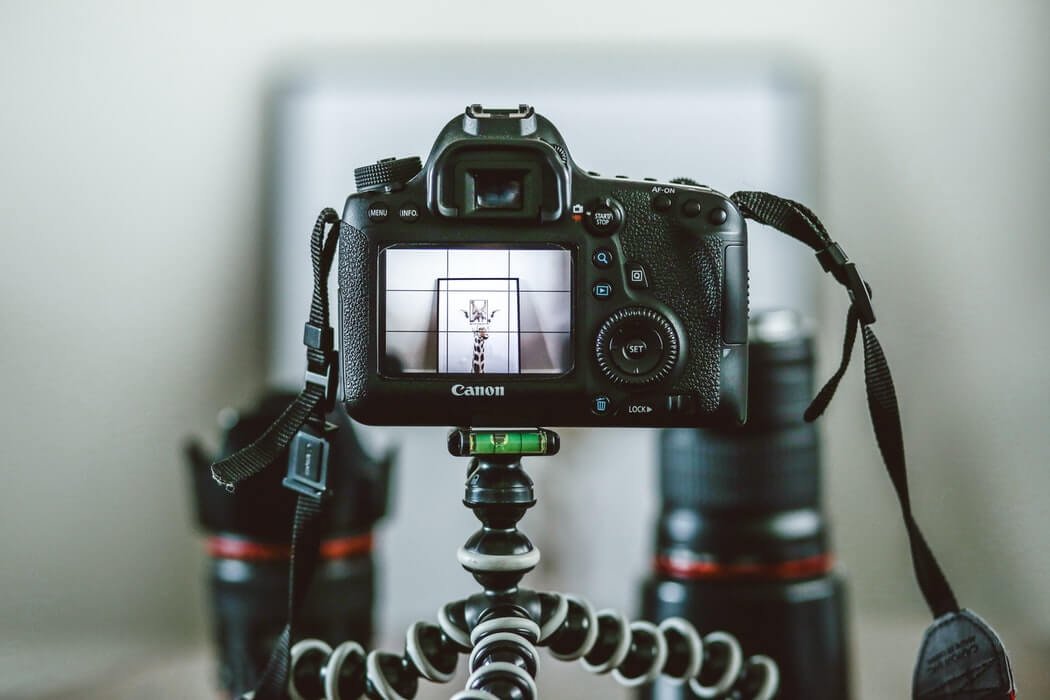
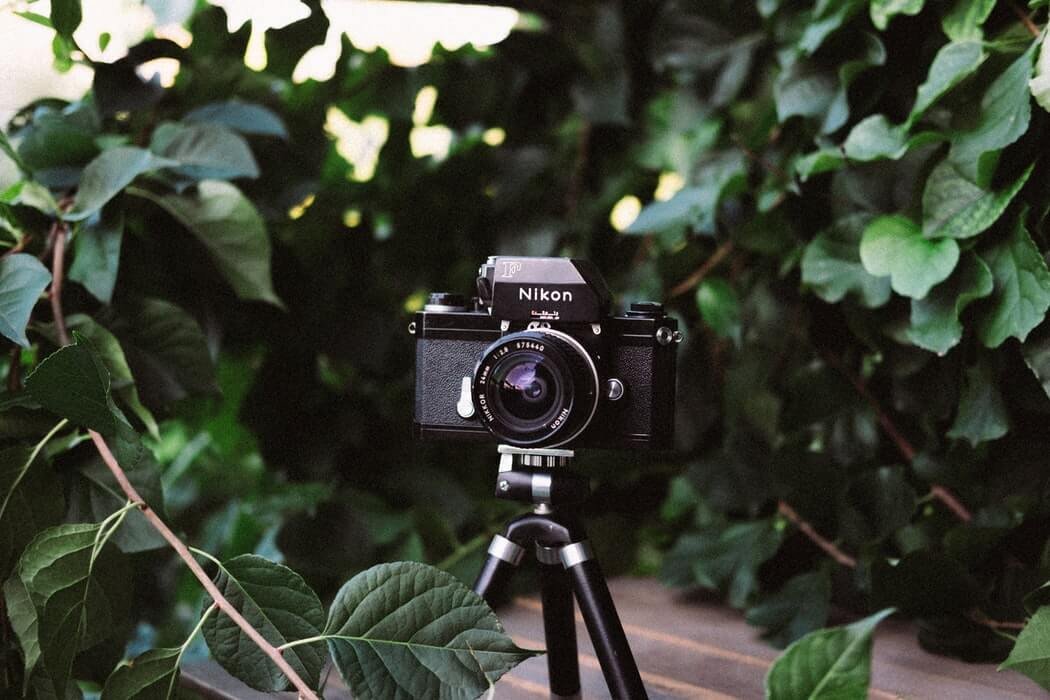
After positioning the camera/phone, it is time to take a photo. During photography, our goal is a sharp and clear photo. We will do this with the help of a tripod, to which we will attach our camera/phone, and set a timer for 5 seconds. On a tripod, the camera will be stable, and the images will not have a “shaky” effect. We will have a sharp and focused photo.
3. Light
As for light, I recommend natural light. If you are taking photos indoors, take pictures by the window during the day, next to the windows, and where the light is best. For photographing at home, if you don’t have the best conditions, a ring light, softbox, or lightbox can be great. On youtube, you have a variety of DIY tutorials on how to make your own photographing equipment. With these gadgets, you can take pictures whenever you want, regardless of the time of day. The time of day that is best for photography, is during sunrise or sunset. And it can also be while it is partly cloudy because the sun is indirect. As long as the sun is indirect, it is the perfect time for great photography.
Bonus tip: if you don’t have professional lighting equipment, you can use white bedding, aluminum foil for additional lighting. With that, you will create the effect of artificial light. The light will be evenly distributed, and your subject will have more light. It’s important that the background is facing the image.
4. Perspective
Through experimenting and playing with perspective, we can get great and interesting photos. Play with objects and props, positions from which you take snapshots. You can get great photos, and your audience will love it!
5. Camera settings
We adjusted the position of the camera, set the image and props, the camera lens is cleaned with a cloth, ready, and facing the artwork. Everything is set up and waiting for a shot. Our goal is a clear and sharp photo. We positioned the camera, so the frame is filled with our artwork and it captures part of the background. If the goal of your photography is to send pictures for the competition, you can crop the background to the edges of the canvas, because that way the judges have a sense of the dimensions of your artwork.
To achieve sharpness, clarity, and bright photo, it is very important to adjust the ISO and aperture. The higher the ISO, the more light-sensitive and coarser the image. We will achieve the sharpness effect with a lower ISO.
The aperture adjusts the amount of light through the lens by increasing or decreasing the aperture. The higher the number, the less light passes through. With a DSLR, the ideal range for capturing an image is between f-8 and f-11.
6. With Editing to the perfection
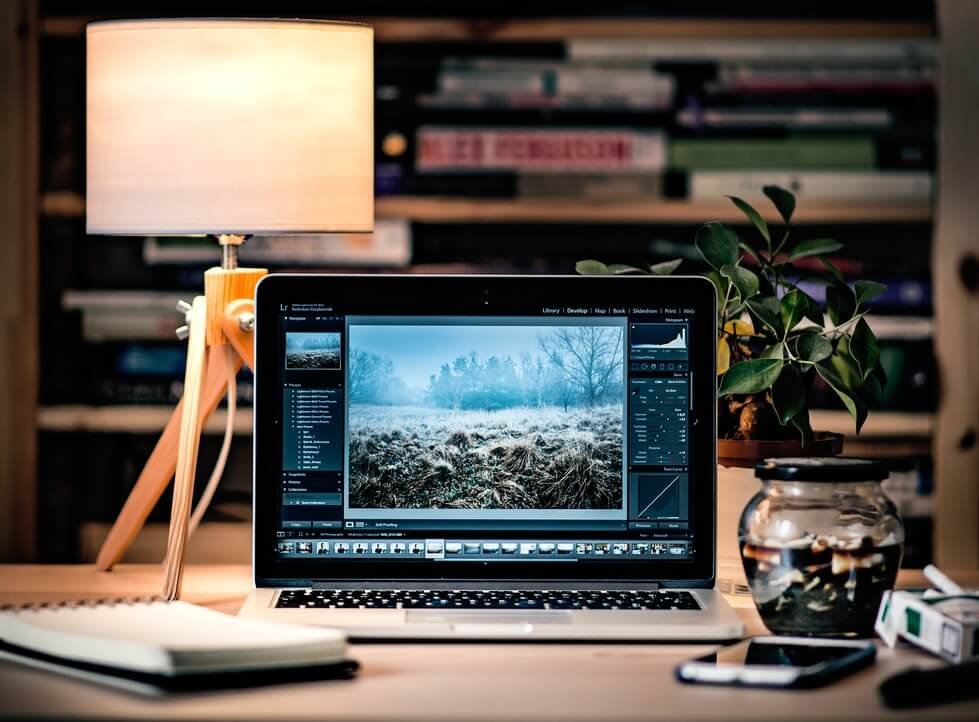
There are many editing apps and programs on the Internet, Snapseed, Adobe Photoshop, Adobe Lightroom, VSCO. Programs and apps allow basic functions such as color correction, cutting, and other settings. I recommend Lightroom and Photoshop. When I edit my photos, I go for the natural look as possible and for the colors to be as they are in reality. Play and see what suits you, and don’t overdo it so that the picture doesn’t look artificial.
7. Presentation
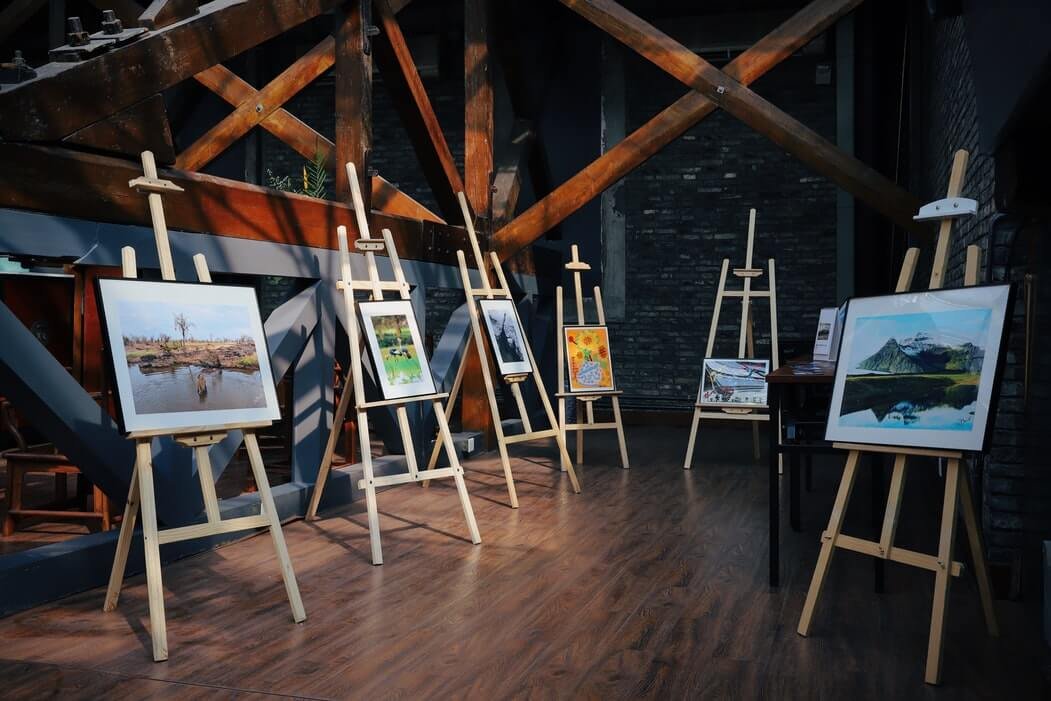
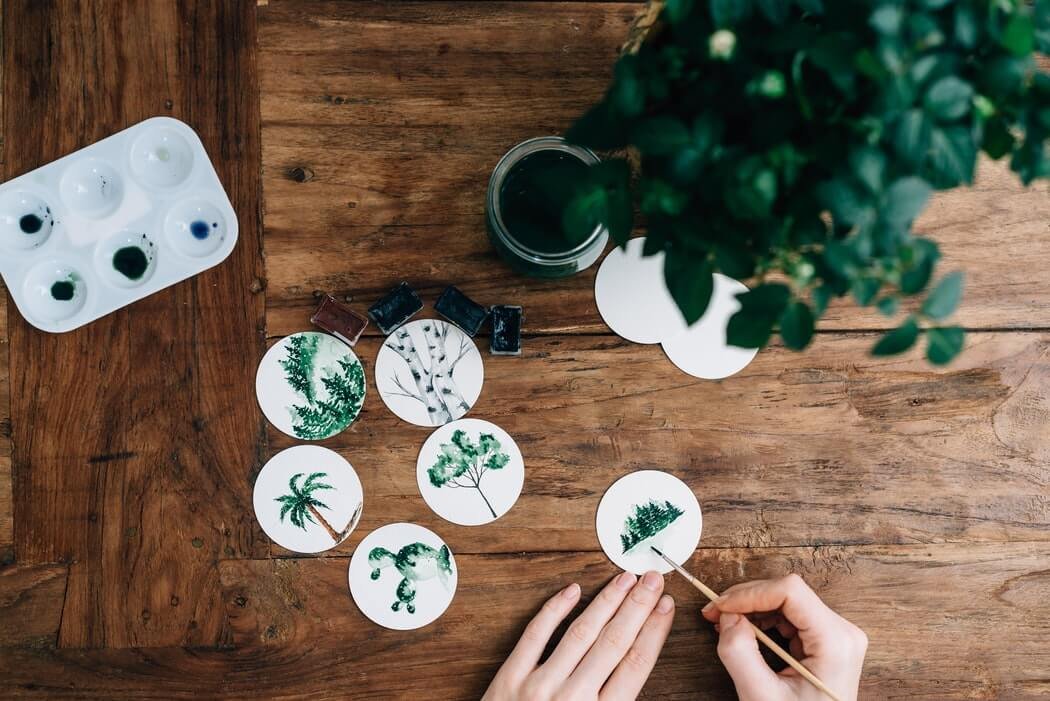
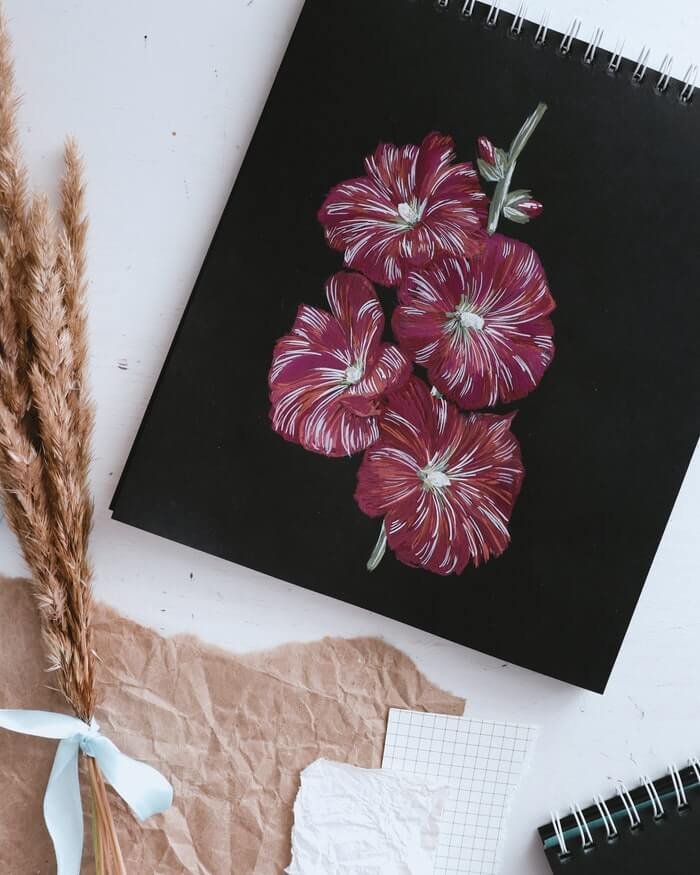
Aesthetic is important, we humans are visual beings. When it comes to composition and presentation, let your imagination run wild. Fill the photo so it doesn’t look empty, experiment with shots, perspective. Insert another object into the frame. These can be brushes, paint, a pallet knife, whatever medium you use. Whatever you think would go well with your work and your story. You can find a lot of ideas on Pinterest and Instagram.
8. Be careful not to overdo it
Photography is very important because it represents to our audience what we create and what we offer. It is very important that in the play process we do not overwhelm with stuff. Less is more. The image is always the center of the photograph.
Did you enjoy this blog post?
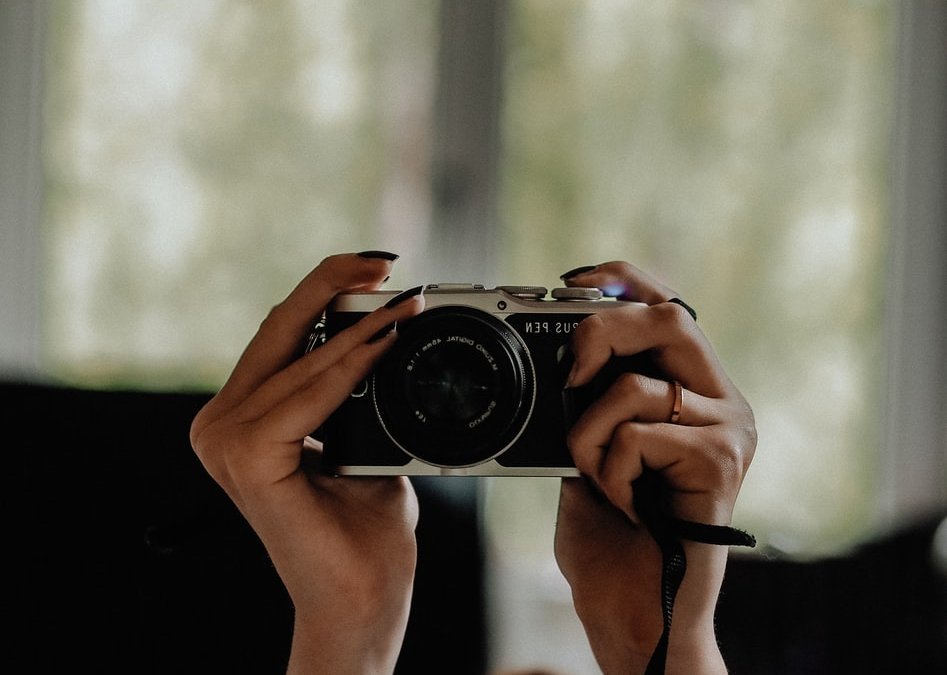
Photographing is very interesting, it offers a lot of options and variations. Play with shots, pictures, props, colors. If you combine these tips, you can get beautiful photos either by taking pictures with your phone or DSL camera. Depending on your phone, I recommend taking photos with the camera. I use a Nikon D5300 for my photos.
Thanks for reading!
Thanks for taking the time to read this blog post. I appreciate it! Feel free to share it with your friends. If you want more painting tips, keep following the blog and sign up for the newsletter.
Happy painting and happy holidays!

